


Can you believe in less than a week it's October?! Even with all the craziness going on this year, it really has flown by. Hopefully we can all end the year on a positive note, and enjoy the holidays! Have a great week!
Please follow your hosts on one or more Social Media Platforms.
We'd love to connect! Let us know you're following from the party. We'd love to follow you back!
We're excited to welcome Alexandra from Eye Love Knots to the party as our newest co-host! Please stop by and welcome her to the party! Be sure to follow her SM, too.
Please follow your hosts on one or more
Social Media Platforms.
Each host chooses her own features,
so be sure to stop by for a visit.
Beverly and Gloria
Staci
T’onna
Alexandra
Marie
We'd love for you to add our party logo to your party page!

Snickerdoodle Create Bake Make Link Party Features
Features are pinned to our
Please Pin From the Original Source.
Features:
Features:
Love My Little Cottage shared Acrylic Pour Halloween Flower Pot. This so awesome!

Claire Justine shared 9 Easy Halloween Cupcake Recipes to Bake with Kids. I'm excited to do some of these with my littles!

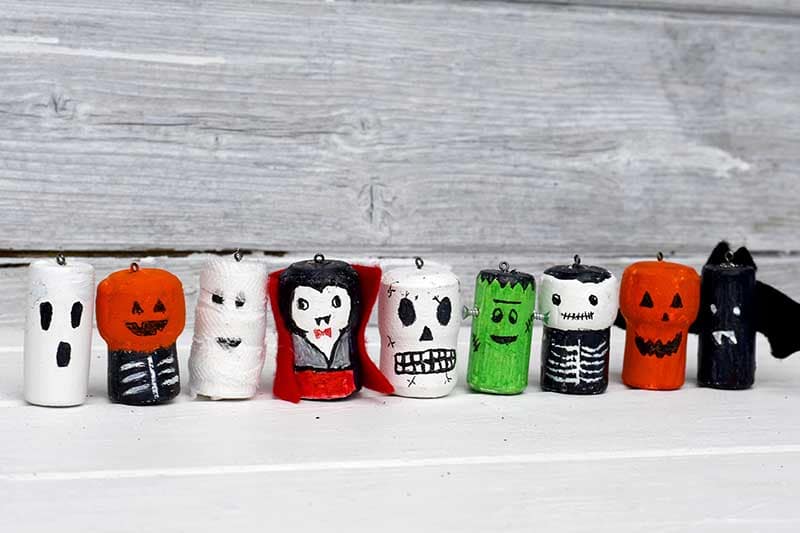
Drug Store Divas shared DIY Wooden Pumpkins. These are adorable! My mom makes wooden stuff for holidays all the time!

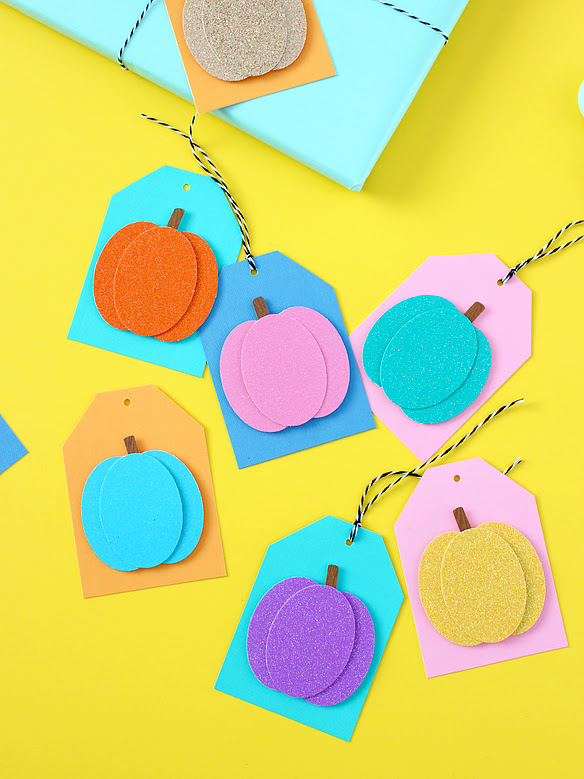
Simple Joys shared Paper Pumpkins. These are so cute, and simple!

Most Featured:
Love My Little Cottage shared Primitive Halloween Centerpiece. Adorable! Nice job, and thanks for sharing!

Let others know you were featured by displaying our Featured Post Image on your blog.

Party Guidelines


Thanks for stopping by!


%20(1).png)


.jpg)


